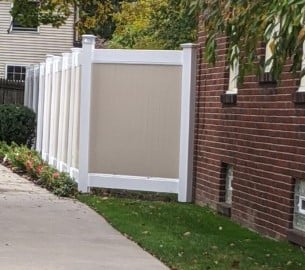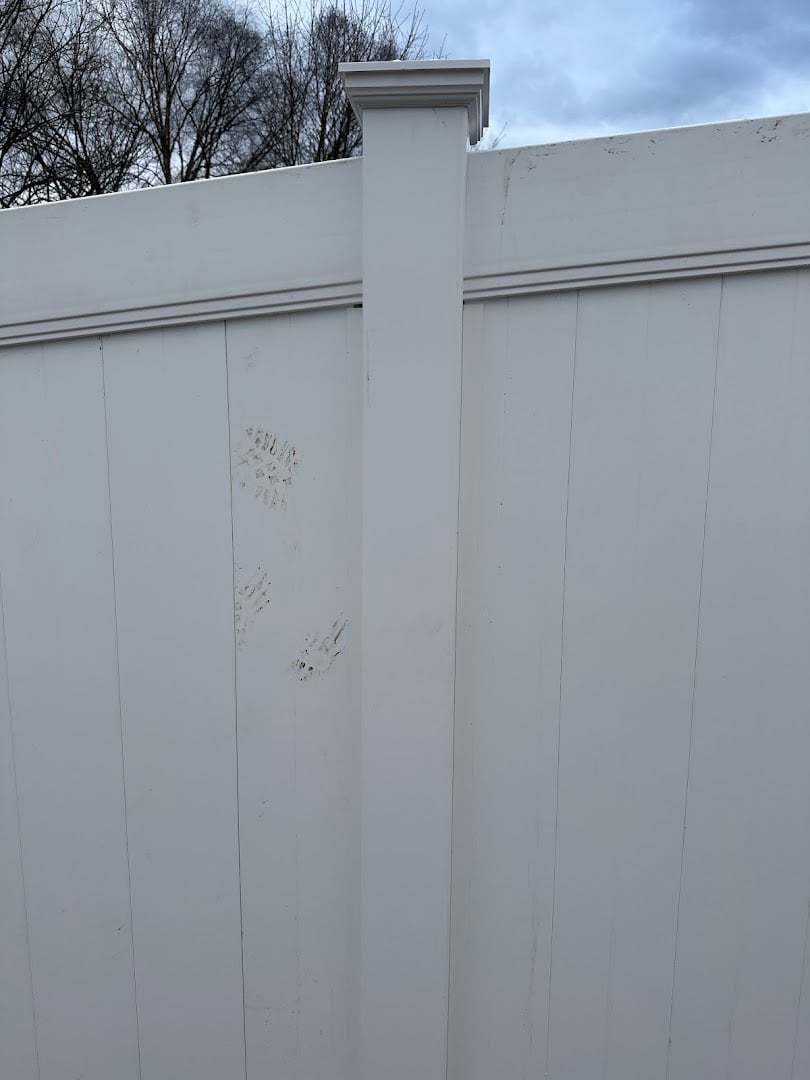
Embarking on a home improvement project can be incredibly rewarding, and a new vinyl fence is a fantastic way to enhance your property's curb appeal, privacy, and security. Many homeowners consider a DIY vinyl fence installation to save on labor costs and gain a sense of accomplishment. While it's certainly a feasible project for the handy homeowner, it's essential to approach it with proper planning and knowledge.
At The Vinyl Outlet, we understand the appeal of a do-it-yourself project. This comprehensive Q&A guide is designed to equip you with the insights you need to confidently tackle your vinyl fence installation, addressing the most common questions we hear. We're here to help you understand the process, what to expect, and how to achieve a professional-looking result.
Can I install a vinyl fence myself?
Yes, absolutely! Installing a vinyl fence yourself is a popular and achievable DIY project for many homeowners. Unlike some other fencing materials, vinyl systems are often designed with ease of assembly in mind, featuring lightweight components and interlocking sections that simplify the installation process. However, it's important to approach it with realistic expectations and a good understanding of the steps involved.
Here are some key considerations if you plan to undertake a DIY vinyl fence installation:
- Planning is Crucial: Before you even dig your first post hole, thorough planning is essential. This includes measuring your property accurately, understanding local zoning laws and homeowner association (HOA) regulations regarding fence height and placement, and calling 811 to have underground utilities marked.
- Tools and Equipment: You'll need a range of tools, including a post-hole digger (manual or powered), a level, a string line, a tape measure, a rubber mallet, and a saw for any necessary cuts. For larger projects, renting specialized equipment like a concrete mixer can save significant time and effort.
- Physical Effort: Digging post holes, mixing concrete, and handling fence sections can be physically demanding. Be prepared for a significant amount of labor, especially if you're working alone.
- Time Commitment: While vinyl fences are quicker to install than some alternatives, a DIY project will still require a substantial time investment, often spanning several weekends depending on the length and complexity of your fence line.
- Following Instructions: Each vinyl fence manufacturer provides specific installation guidelines. Adhering to these instructions is paramount to ensure your fence is installed correctly, is structurally sound, and maintains its warranty.
While many homeowners successfully tackle DIY vinyl fence installation, remember that The Vinyl Outlet also offers professional installation services if you decide the project is too large or complex for your comfort level. We're here to support your fencing needs, whether you're a DIY enthusiast or prefer a full-service approach.
How deep should vinyl fence posts be in the ground?
The depth at which your vinyl fence posts should be set in the ground is a critical factor for the stability, longevity, and overall integrity of your fence. A general rule of thumb for most fence types, including vinyl, is to bury approximately one-third of the post's total length. So, for a 6-foot tall fence, you would typically want to bury the posts about 2 feet deep, leaving 4 feet above ground for the fence panels.
However, several factors can influence the ideal post depth:
- Fence Height: Taller fences exert more force and require deeper posts for adequate support against wind and other pressures.
- Local Frost Line: In regions with freezing temperatures, it's crucial to bury your fence posts below the local frost line. This prevents frost heave, where freezing and thawing ground can push posts out of the ground, causing your fence to become uneven and unstable. Always check local building codes for specific frost line requirements in your area.
- Soil Conditions: Loose or sandy soil may require deeper post holes or a wider concrete footing to provide sufficient stability compared to dense clay soil.
- Wind Load: If your property is in an area prone to high winds, deeper and wider post holes with more concrete will provide enhanced resistance.
- Manufacturer Specifications: Always consult the specific installation instructions provided by your vinyl fence manufacturer. They will often provide precise recommendations for post depth and concrete usage based on their product's design and engineering.
Once the posts are set at the correct depth, they are typically secured with concrete. The concrete provides a solid foundation, anchoring the post firmly in place. Ensure the concrete is properly mixed and cured according to instructions to achieve maximum strength. Proper post depth and secure concrete footings are the backbone of a durable and long-lasting vinyl fence.
How much to install 100 feet of vinyl fence?
Estimating the exact cost to install 100 feet of vinyl fence can vary significantly, as it depends on numerous factors unique to each project. It's impossible to give a precise number without knowing the specifics, but we can outline the key elements that contribute to the overall expense, whether you're doing it yourself or hiring professionals.
For a DIY vinyl fence installation, the primary costs will be for materials and any tools you might need to purchase or rent:
- Fence Style and Height: Vinyl fences come in various styles (e.g., privacy, semi-privacy, picket, rail) and heights. A taller, full-privacy fence will naturally cost more per linear foot than a shorter picket fence due to more material.
- Gates: If your 100 feet includes one or more gates, these will add to the cost. Gates are more complex and require additional hardware.
- Material Quality: While all vinyl fences offer durability, there can be differences in the gauge of the vinyl and the complexity of the panel design, affecting the price.
- Concrete and Other Supplies: You'll need concrete for setting posts, gravel for drainage, and potentially other small hardware.
- Tool Rental/Purchase: If you don't own a post-hole digger, level, or other necessary tools, you'll need to factor in rental or purchase costs.
- Delivery Fees: Consider any charges for delivering the fence materials to your property.
If you opt for professional installation, the cost will also include labor, which can be a significant portion of the total. Labor costs vary based on your location, the complexity of the terrain (e.g., sloping ground, rocky soil), and the installer's experience. Professional installers also bring specialized equipment and expertise, ensuring a precise and efficient installation.
For an accurate estimate tailored to your project, whether you're looking for materials for a DIY project or full installation services, The Vinyl Outlet provides free, no-obligation quotes. We can help you understand the material costs for 100 feet of your chosen vinyl fence style and provide a comprehensive breakdown.
Do vinyl fences go all the way to the ground?
Generally, vinyl fences do not go all the way to the ground. It is standard practice to leave a small gap, typically between 1 to 3 inches, between the bottom of the fence panel and the finished grade of the ground. This gap serves several important practical purposes and contributes to the longevity and appearance of your fence.
Here's why this gap is crucial:
- Drainage: A gap prevents the fence panels from sitting directly in standing water after rain or snowmelt. Constant contact with moisture, even with a durable material like vinyl, can lead to dirt accumulation, mildew growth, and make cleaning more difficult over time. Proper drainage helps keep your fence looking pristine.
- Weed and Grass Trimming: The gap allows for easier maintenance around the base of the fence. You can use a string trimmer or edger without fear of damaging the vinyl panels, keeping your fence line neat and tidy. If the fence were flush with the ground, trimming would be much more challenging and could potentially damage the fence material.
- Ground Movement: The ground can shift, settle, or heave due to temperature changes and moisture levels. A small gap accommodates these natural movements, preventing the fence panels from being pushed up, down, or becoming uneven.
- Uneven Terrain: Most properties are not perfectly level. A consistent gap allows for minor variations in ground elevation without requiring the fence panels to be cut or stepped drastically, which can sometimes compromise the aesthetic or structural integrity. A slight gap can be adjusted to maintain a level top rail even on gently sloping ground.
- Airflow: A small gap promotes better airflow around the base of the fence, which can be beneficial in preventing moisture buildup and maintaining a healthier microclimate around the fence line.
When installing your vinyl fence, it's important to maintain a consistent gap along the entire fence line for a professional and aesthetically pleasing finish. This is typically achieved by using temporary spacers or blocks during the panel installation process to ensure uniform height off the ground before securing the panels to the posts.
Ready to explore your vinyl fence options or need a professional installation? The Vinyl Outlet is your trusted partner for high-quality vinyl fences, decks, porches, and railings. Whether you're planning a DIY project and need top-grade materials or prefer our expert team to handle the entire installation, we're here to help.
Contact us today for a free quote and let us help you achieve the perfect vinyl fence for your property!